

Federal Military Parts (763) 310-9340
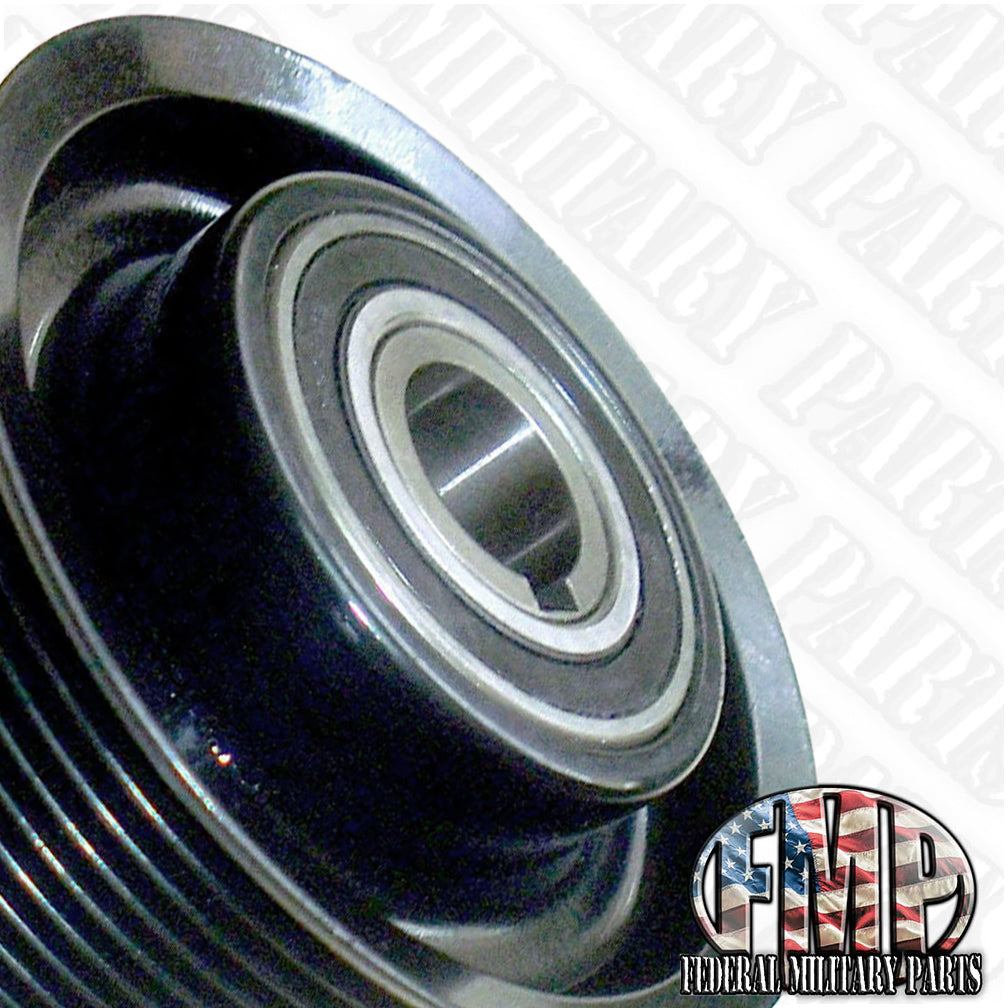
Overrunning Clutch Serpentine Pulley, Fits M1114 Hummer, 12469483 , 600634
Precio habitual
42.000 DJF
Precio habitual
Precio de oferta
42.000 DJF
Precio unitario
por
Los gastos de envío se calculan en la pantalla de pago.
No se pudo cargar la disponibilidad de retiro
The HMMWV 8-groove over-running alternator/clutch pulley (often found on 200A systems) enables the serpentine belt to drive the alternator smoothly while preventing the alternator's high-inertia rotor from back-driving the belt during engine deceleration. This extends belt life and prevents system damage.[1, 2]
Key Replacement Specs & Details
- Part Numbers: 12469483, 12469186
- NSN: 3020-01-491-2671 or 3020-01-444-5447
- Belt Type: 8-groove serpentine
- Application: Specifically fits HMMWV variants (including M998, M1025, M1123, and M1151) outfitted with heavy-duty 200-amp alternators.
The HMMWV 8-groove over-running alternator pulley installation requires specialized removal tools and precise torque application to prevent belt slippage or component damage.
Required Tools
- OAP Removal Tool: Spline tool set (specifically a 33-spline alternator socket) to hold the pulley while turning the shaft.
- Impact Wrench: Air or cordless impact wrench for effortless removal of the old pulley.
- Torque Wrench: Metric torque wrench capable of reaching factory specifications.
- Hex or Torx Bits: Shaft-end bits (typically 10mm hex or T50 Torx) to hold the center spindle if hand tools are used.
- Breaker Bar: Long handle bar for manual leverage.
Step-by-Step Installation Process
- Disconnect Battery: Disconnect the negative battery cables to prevent electrical shorts. [1]
- Remove Serpentine Belt: Rotate the belt tensioner to release tension and slide the 8-groove belt off the pulley.
- Unbolt Alternator: Remove the mounting bolts to extract the 200A alternator from the engine bay for better workbench access.
- Remove Old Pulley: Insert the 33-spline tool into the pulley, lock the center shaft with your hex/Torx bit, and rotate counter-clockwise to loosen.
- Thread New Pulley: Hand-thread the new pulley (Part #12469483 or #12469186) clockwise onto the alternator rotor shaft to prevent cross-threading.
- Torque to Spec: Use the spline tool and torque wrench to tighten the new pulley firmly against the shaft shoulder (typically 60-65 ft-lbs / 80-88 Nm).
- Reinstall Components: Mount the alternator back to the bracket, route the serpentine belt, and reconnect the batteries.
Pro Installation Tips
- Direction of Rotation: Over-running alternator pulleys (OAP) always tighten in the direction of normal engine rotation (clockwise from the front) and loosen counter-clockwise.
- Inspect the Tensioner: Always check the automatic belt tensioner and idler pulleys for bearing wear while the serpentine belt is removed.
- Shaft Cleanliness: Clean the alternator rotor shaft threads with a wire brush and brake cleaner before installing the new clutch pulley to ensure accurate torque.