

Federal Military Parts (763) 310-9340
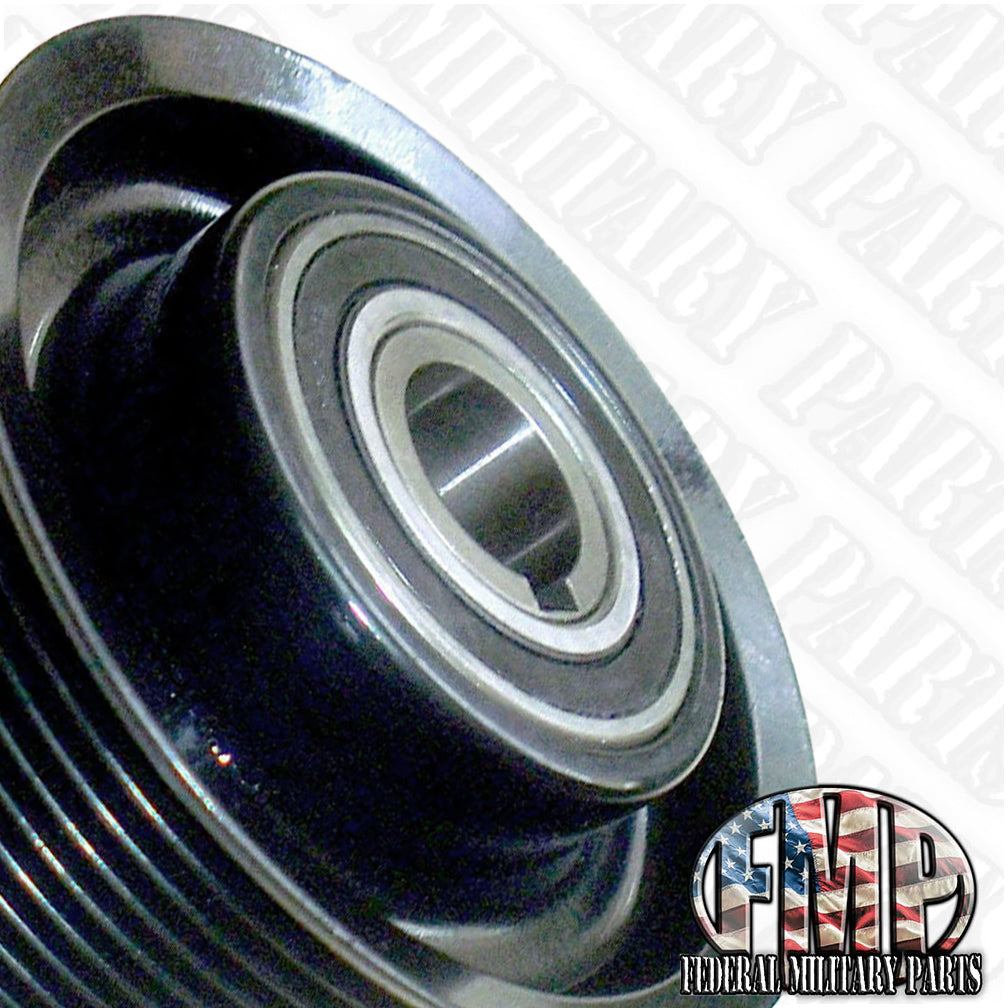
Overrunning Clutch Serpentine Pulley, Fits M1114 Hummer, 12469483 , 600634
Обычная цена
$218.95 USD
Обычная цена
Цена со скидкой
$218.95 USD
Цена за единицу
за
Стоимость доставки рассчитывается при оформлении заказа.
Не удалось загрузить сведения о доступности самовывоза
The HMMWV 8-groove over-running alternator/clutch pulley (often found on 200A systems) enables the serpentine belt to drive the alternator smoothly while preventing the alternator's high-inertia rotor from back-driving the belt during engine deceleration. This extends belt life and prevents system damage.[1, 2]
Key Replacement Specs & Details
- Part Numbers: 12469483, 12469186
- NSN: 3020-01-491-2671 or 3020-01-444-5447
- Belt Type: 8-groove serpentine
- Application: Specifically fits HMMWV variants (including M998, M1025, M1123, and M1151) outfitted with heavy-duty 200-amp alternators.
The HMMWV 8-groove over-running alternator pulley installation requires specialized removal tools and precise torque application to prevent belt slippage or component damage.
Required Tools
- OAP Removal Tool: Spline tool set (specifically a 33-spline alternator socket) to hold the pulley while turning the shaft.
- Impact Wrench: Air or cordless impact wrench for effortless removal of the old pulley.
- Torque Wrench: Metric torque wrench capable of reaching factory specifications.
- Hex or Torx Bits: Shaft-end bits (typically 10mm hex or T50 Torx) to hold the center spindle if hand tools are used.
- Breaker Bar: Long handle bar for manual leverage.
Step-by-Step Installation Process
- Disconnect Battery: Disconnect the negative battery cables to prevent electrical shorts. [1]
- Remove Serpentine Belt: Rotate the belt tensioner to release tension and slide the 8-groove belt off the pulley.
- Unbolt Alternator: Remove the mounting bolts to extract the 200A alternator from the engine bay for better workbench access.
- Remove Old Pulley: Insert the 33-spline tool into the pulley, lock the center shaft with your hex/Torx bit, and rotate counter-clockwise to loosen.
- Thread New Pulley: Hand-thread the new pulley (Part #12469483 or #12469186) clockwise onto the alternator rotor shaft to prevent cross-threading.
- Torque to Spec: Use the spline tool and torque wrench to tighten the new pulley firmly against the shaft shoulder (typically 60-65 ft-lbs / 80-88 Nm).
- Reinstall Components: Mount the alternator back to the bracket, route the serpentine belt, and reconnect the batteries.
Pro Installation Tips
- Direction of Rotation: Over-running alternator pulleys (OAP) always tighten in the direction of normal engine rotation (clockwise from the front) and loosen counter-clockwise.
- Inspect the Tensioner: Always check the automatic belt tensioner and idler pulleys for bearing wear while the serpentine belt is removed.
- Shaft Cleanliness: Clean the alternator rotor shaft threads with a wire brush and brake cleaner before installing the new clutch pulley to ensure accurate torque.